 Aperture- f/16 ISO- 100 Shutter Speed-1/3 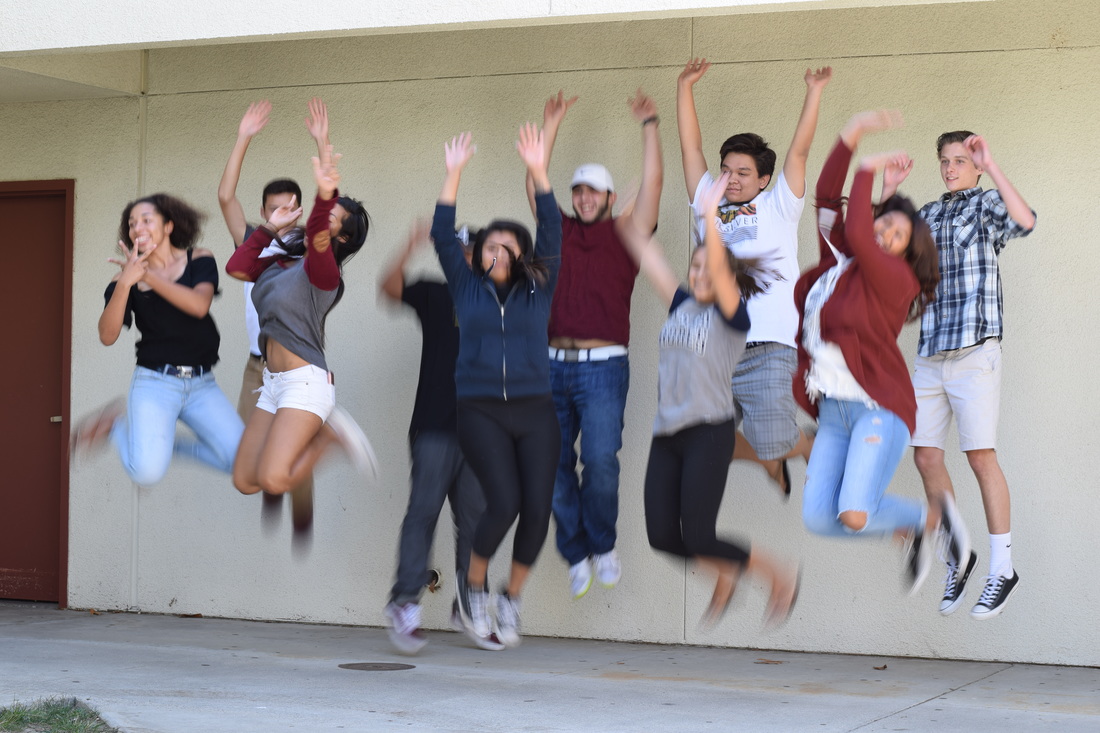 Aperture- f/8 ISO-100 Shutter Speed-1/30 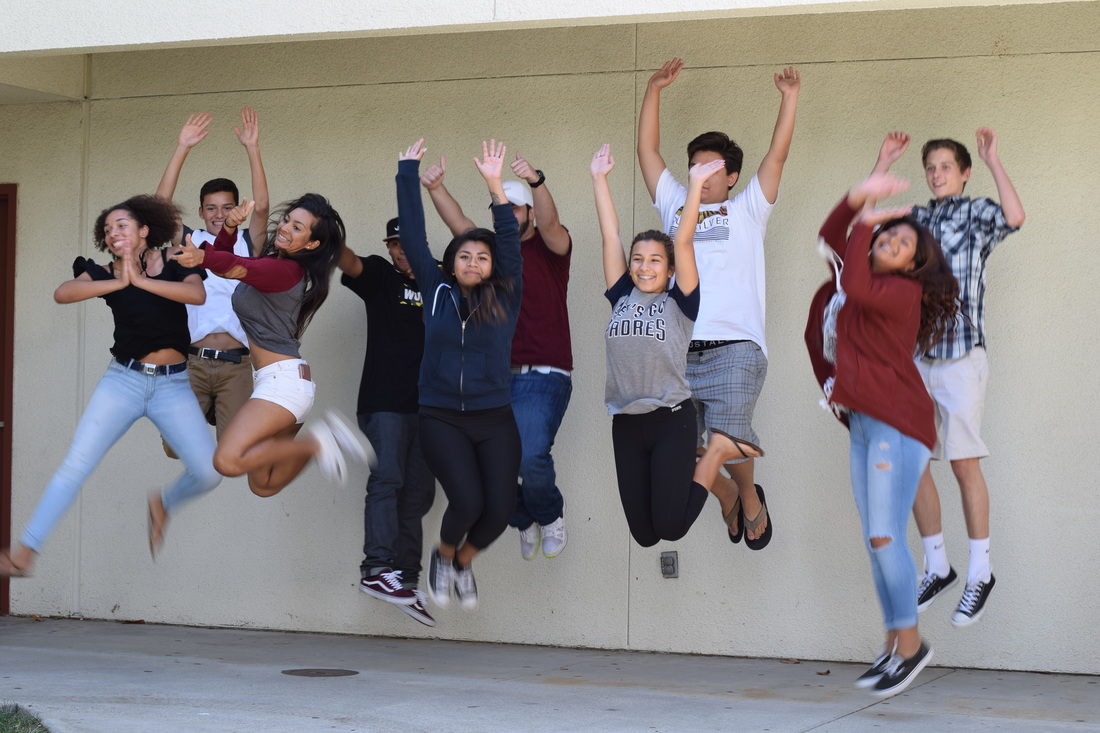 Aperture-f/6.3 ISO-100 Shutter Speed- 1/60 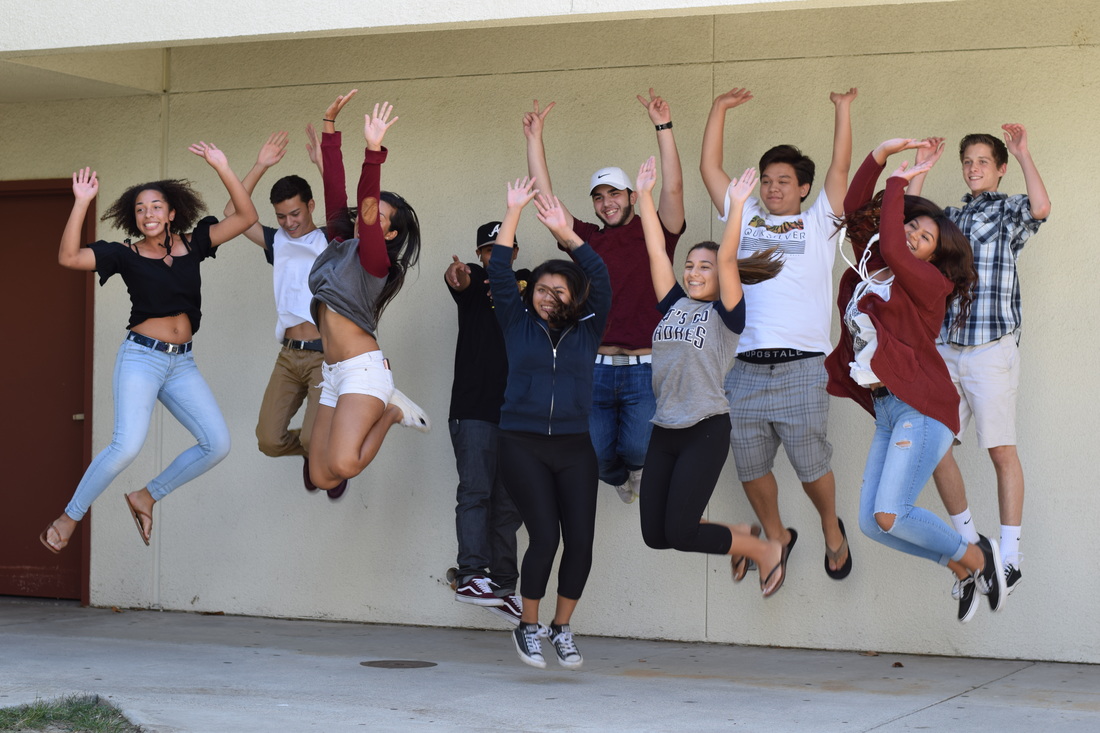 Aperture-f/2.8 ISO-100 Shutter Speed-1/250  Aperture-f/1.8 ISO-100 Shutter Speed-1/1,000 1. To change the camera to be in shutter priority, turn the mode dial to S (Shutter Speed). To change the shutter speed, slightly press on the shutter button and the display on the screen should appear. On the screen, you will see what shutter speed, ISO, and aperture the camera is set to. Using the rear dial, you are able to adjust the shutter speed as desired.
2. The faster the shutter speed, the more the subject(s) will appear to be frozen or suspended in air. The slower the shutter speed, the more the subject(s) will appear blurry - able to see motion in the picture. In the pictures taken, I see the images progressively getting more focused and the subjects become suspended in air. 3. Shutter speed can be incredibly useful in many situations. If a photographer wants to capture their subject frozen in mid-air, then a fast shutter speed is ideal ( i.e. 1/1,000) If a more blurred motion look is desired, use a slower shutter speed (i.e. 1/3) to get the blurred effect in the image. To get a smooth look in the image (such as on water), a slower shutter speed is also ideal. 4. Shutter Speed Notes *Shutter Speeds are both a technical and aesthetic choice a photographer needs to make before releasing the shutter. *The shutter inside your camera controls the duration of time the sensor is exposed to light. *Capturing blur or motion in your photograph can emphasize movement and add drama *A fast shutter speed is often utilized to freeze the movement of a subject *A slower shutter speed can be used to show motion and visualize movement *Shutter speeds are expressed as seconds or fractions of seconds (1/8000- 1/4000- 1/2000- 1/1000- 1/500- 1/250) *As a general rule to prevent unintentional camera shake you should avoid handholding your digital cameras at shutter speeds slower than 1/ 2 x Focal length Example: When using a 200mm lens avoid using shutter speed slower than 1/400 *Using a tripod can help eliminate camera shake when using slower shutter speed *The visual blur and suggestion of movement occurs because the subject is moving against a static background *Layering motion of different subjects moving different directions at different speeds can set up interesting dynamics within a photograph *Fast shutter speeds can make normal subjects appear to freeze in the air *When photographing people running relatively close to the camera, a shutter speed of 1/1000 of a second or faster should freeze most motion *The distance the subject is from the camera, the speed of the subject, and the focal length of the lens will affect whether the subject is sharp or blurred *Slower shutter speeds can help convey the idea of motion and movement *Slow shutter speeds combined with panning can help isolate the subject form a busy and distracting background *A tripod combined with a long exposure can capture the fireworks’ trails *Water movement can be emphasized with long exposure
0 Comments
 Daguerreotype *Is an early method of photography created by Louis-Jaques-Mandé Daguerre (1839) *The process of making a daguerreotype starts with a silver-plated copper plate. The plate is first buffed and polished until it resembles a mirror. The plate is then sensitized to light over iodine and bromine in specialized, light-proof boxes. *Is a negative and positive image at the same time *The images last a long time- 200 years+ and remain in pristiene condition *Allows for infinite detail
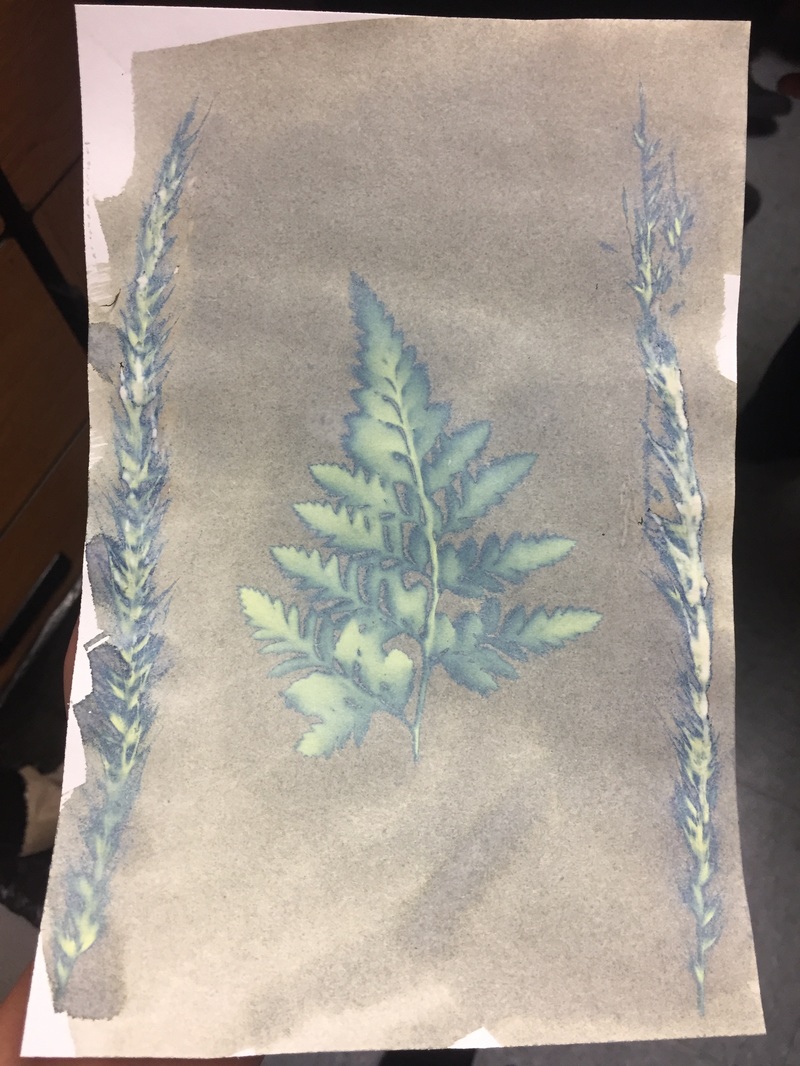
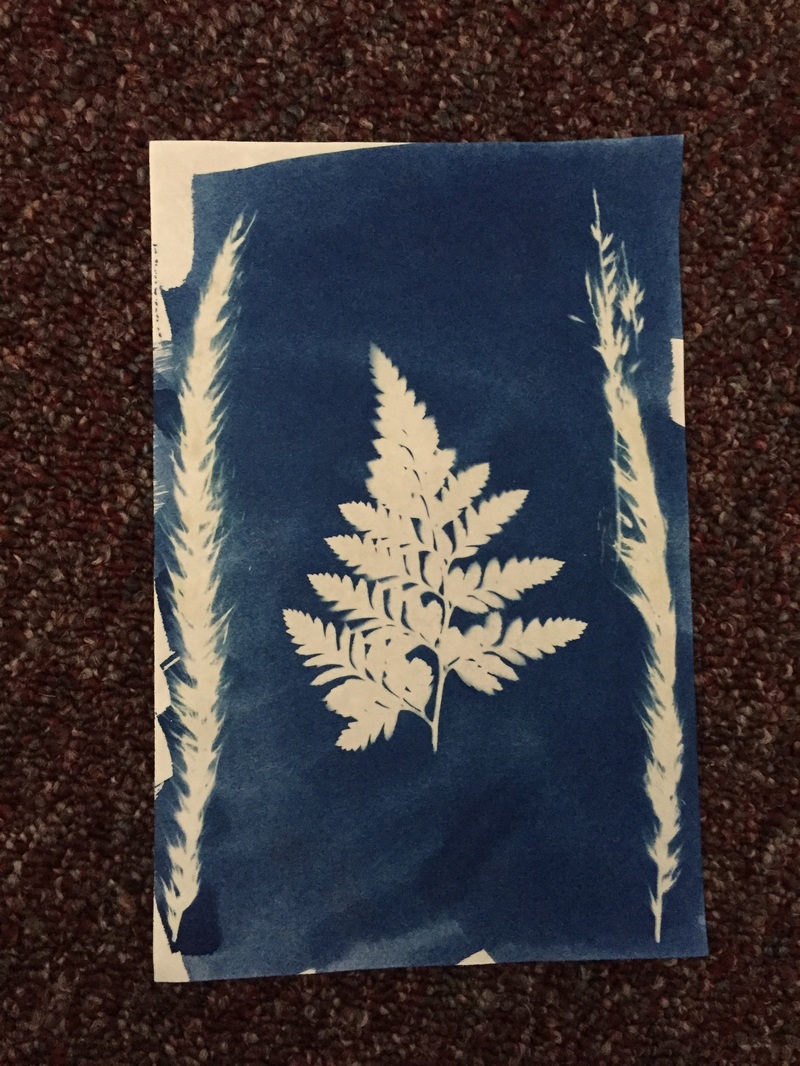
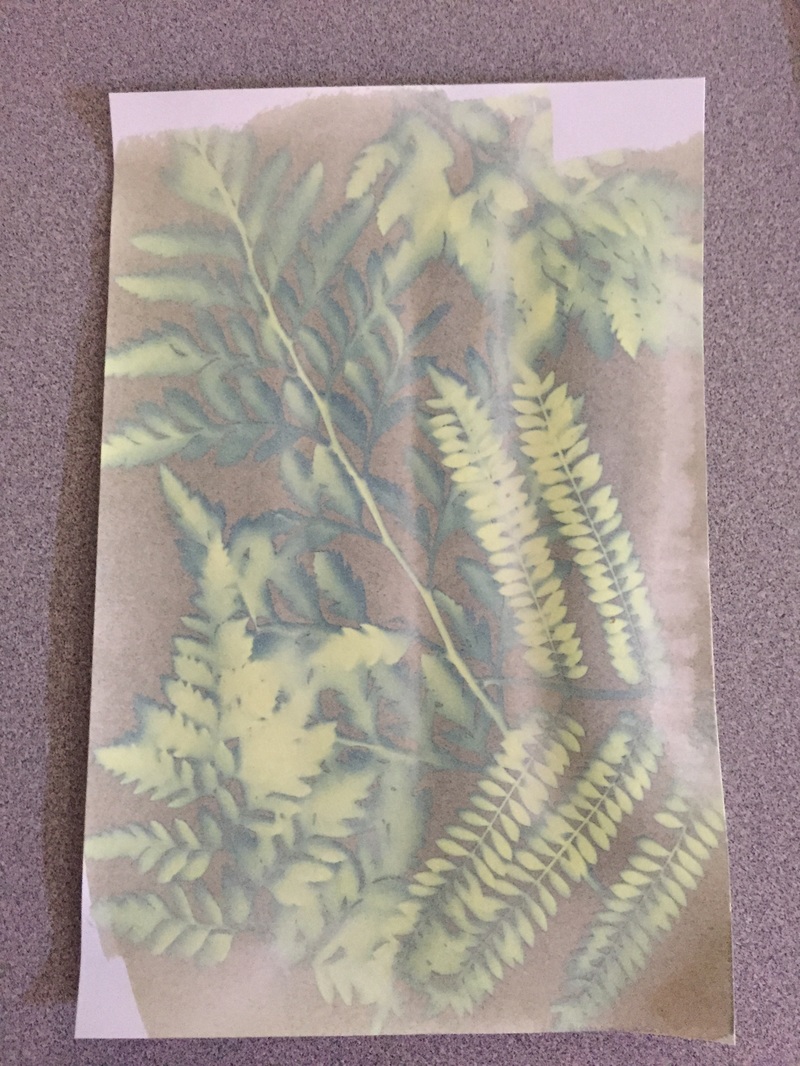
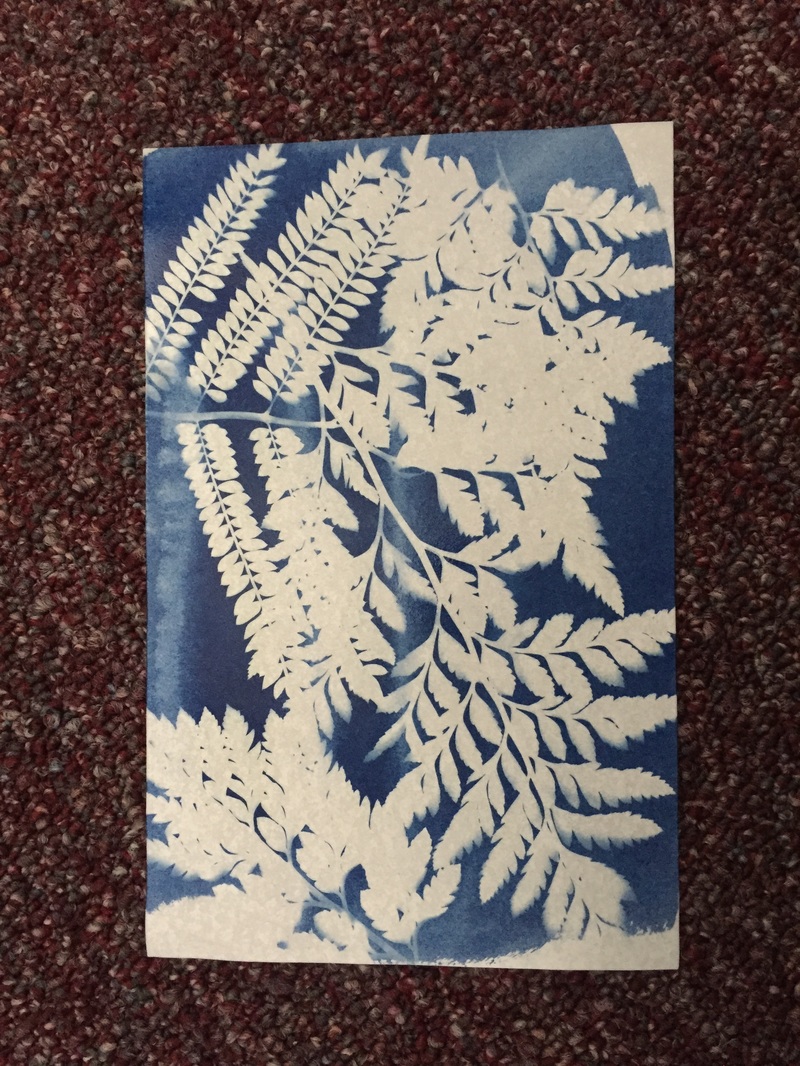
Cyanotype
*Is the photographic printing process that produces a cyan-blue print or image. (Created by Sir John Herschel- 1842) *Made from two types of salt: potassium ferricyanide and ferric ammonium citrate In a darkened room (no UV light) mix equal parts of solution A and B. The solution is now light sensitive and should be used immediately and stored in complete darkness. In the same darkened room, coat a piece of watercolor paper (90 pound works well) using a small paint brush and dry the paper using a hair dryer. The paper may be stored in a light-tight box for later use. Using the contact printing method expose the paper to full sun for 15-20 minutes. The yellow emulsion should turn to a steel blue grey color. Exposure times vary greatly depending upon the strength of the UV source and the density of the negative. Artificial light source rich in UV may be used with testing. Develop/ rise in water until stain clears. A few drops of 3% Hydrogen Peroxide may be added to the water solution to enhance the blue color Air dry to complete the cyanotype. *Non silver process is unique to the time period, most other photography processes are silver based. *Commonly known as the "blue print".  "A Day at the Park" ISO 400- Aperture f/8- Shutter Speed 1/500 It was mid April, the beginning of spring. The trees begun to fill their branches with healthy, green leaves, flowers started to bloom, and birds started to chirp in the fresh, spring air. The weather was so beautiful that Beary and his son, Buddy, decided to go for a walk in the park. They packed up their car and drove to the park.  "Spotted" ISO 400- Aperture f/16- Shutter Speed 1/160 When Beary and Buddy arrived at the park, they were awe-struck at all the beautiful plants and flowers that had grown since last spring. As they were admiring the delightful scenery, a chilly gust of wind swept through the park. Noticing Buddy start to shiver, Beary decided to go back to the car to get Buddy's jacket. He told Buddy to stay put by the pear tree and wait for him to return.  "The Climb" ISO 400- Aperture f/1.8- Shutter Speed 1/4,000 As Buddy was patiently waiting for his father to return, something caught his eye up in the tree. It was a big, juicy pear! Buddy saw the delicious pear and instantly wanted to eat it. "But how could I get the pear down from all the way up in the tree?" Buddy thought. Then it hit him; he could climb the tree to pick the sweet fruit. So away Buddy went in his quest to pick the tasty pear.  "Panic in the Park" ISO 400- Aperture f/1.8- Shutter Speed 1/4,000 Buddy climbed the tree with great ease, though after he picked the pear from the tree, he realized he could not get down. He was stuck! Just as Buddy realized he was stuck, Beary returned from the car. Beary was shocked to see his son stuck so high up in the pear tree. He didn't know what to do. So Beary called his friend Teddy, a former firefighter, to come rescue his son. 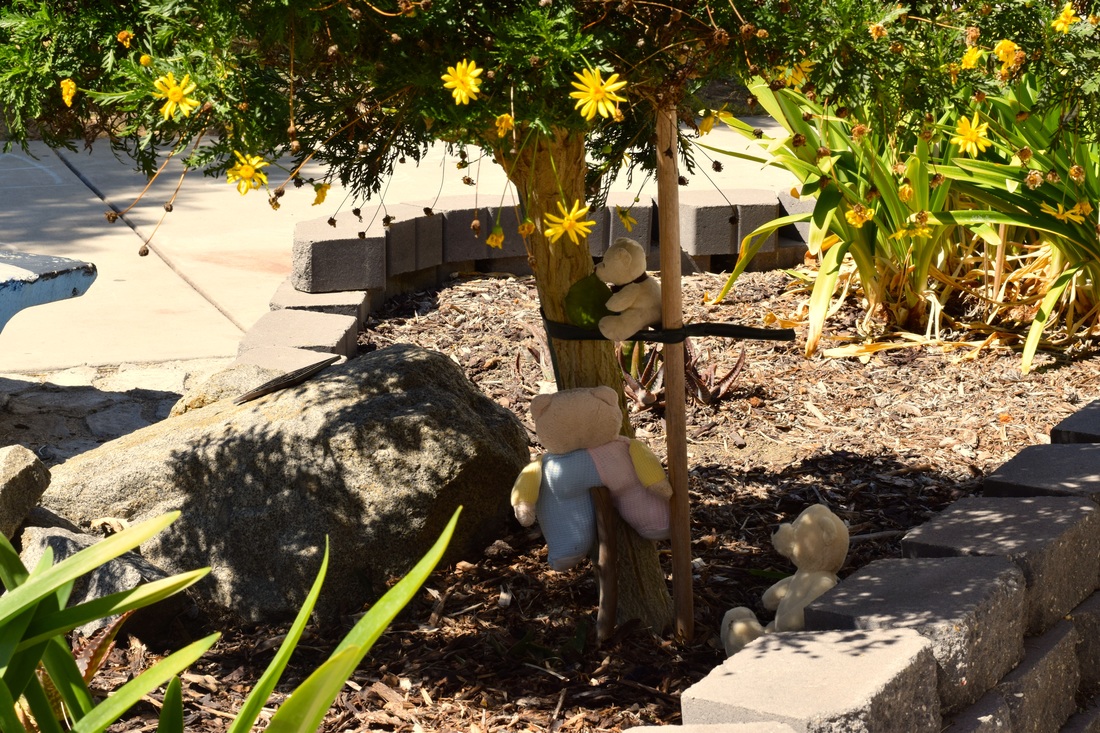 "Rescue Mission" ISO 400- Aperture f/16- Shutter Speed 1/200 Teddy agreed to come and save Buddy from the tree. He arrived soon after he got the call, as he knew Buddy was in great trouble. He began to climb the tree to rescue Buddy when all of a sudden Buddy started to slip off the tree. Thankfully, Teddy reached the top of the tree just in time to catch him. 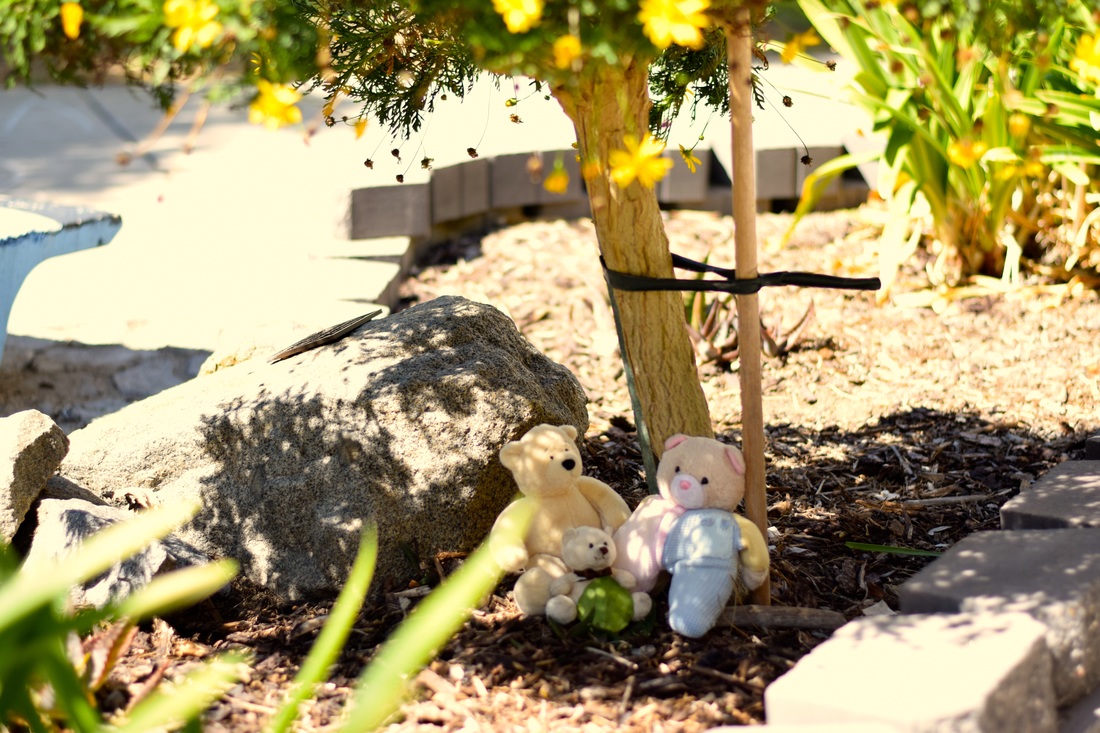 "Reunited" ISO 400- Aperture 1/1.8- Shutter Speed 1/4,000 Teddy, Buddy, and the pear made it back on the ground without a scratch. Teddy was a true hero! The three bears hugged with relief and happiness. Beary and Buddy thanked Teddy for his courageous act and continued on their walk in the park. They will never forget the day Buddy got stuck in a tree.
 ISO 200- Aperture f/1.8- Shutter Speed f/80  ISO 200- Aperture f/8- Shutter Speed 1/100  ISO 200- Aperture f/16- Shutter Speed 1/100 The goal of this assignment was to display the various effects of aperture on a single frame/ image. In the three images, the variously placed boxes should be either in focus or blurred out, depending on the aperture setting. Aperture of f/16 for example would result in a detailed, clear, deep depth of field. An aperture of f/1.8 would result in a more blurred background, lacking detailed depth of field in the image.
DSLR
“Digital Single Lens Reflex” DSLR is a digital camera that uses mirrors to direct light from the lens to the viewfinder, which is a hole on the back of the camera that you will look through to see what you are taking a picture of. Exposure Exposure is the amount of light collected by the sensor in your camera during a single picture. If the shot is exposed too long the photograph will be washed out. If the shot is exposed too short the photograph will appear too dark. Almost all cameras today have light meters which measure the light in the given shot and set an ideal exposure. The three primary controls your camera use for exposure are aperture, shutter speed, and ISO. Aperture in a Camera Aperture is a hole within a lens, through which light travels into the camera body. It is easier to understand the concept if you just think about our eye. Every camera that we know of today is designed like human eyes. Size of Aperture In Photography, aperture is expressed in f-numbers. These f-numbers that are known as “f-stops” are a way of describing the size of the aperture is. A smaller f-stop means a larger aperture, while a larger f-stop means a smaller aperture. Example: f/1.4 is larger that f/2.0 and much larger than f/8.0. Small apertures (high f/numbers i.e. f/22) increase the depth of field, bringing both the main subject and background into focus. Large apertures (low f/numbers is f/2.8) soften background details. Depth of field (DOF) is the distance to which objects behind and in front of the focal point appear to be in focus. Shutter Speed Shutter speed, “exposure time”, stands for the length of time a camera shutter is open to expose light into the camera sensor. If the shutter speed is fast, it can help to freeze action completely. If the shutter speed is slow, it can create an effect called “motion blur”, where moving objects appear blurred along the direction of the motion. Shutter speeds are typically measured in fractions of a second, when they are under a second. Example: ¼ means a quarter of a second, while 1/250 means one two-hundred-and-fiftieth of a second or four milliseconds. The slowest speed for hand held photography is 1/60. Anything lower then that should either be on a tripod or on a straight, solid surface. Any slower handheld shutter speed begins to get motion blur and your photograph may be out of focus. ISO ISO is the level of sensitivity of your camera to available light. The lower the ISO number, the less sensitive it is to the light, while a higher ISO number increases the sensitivity of your camera. The component within your camera that can change sensitivity is called “image sensor” or simply “sensor”. With increased sensitivity, your camera sensor can capture images in low-light environments without having to use flash. But higher sensitivity comes at an expense- it adds grain or “noise” to the pictures. General Rule of Thumb Bright and sunny, 100 iso Cloudy, 250 iso Indoors, 500 iso Night time without a flash, 1600 iso Modes on the DSLR M- manual control over aperture and shutter A- aperture priority S- shutter priority P- camera sets shutter speed and aperture (program) How to Hold a DSLR Have the camera strap around your neck at all times Hold the camera by the lens and hand grip if possible- treat with care!  Camera Obscura- Meaning "dark room" in Latin. It is the natural phenomenon that occurs when an image of a screened-off scene is projected invertedly on a surface by rays of light that have traveled from the objects in the scene through a small aperture in a dividing wall or screen onto the surface facing the aperture. In class, we blacked out/ darkened the entire classroom, only letting a small hole of light shine through. We, the students, held up a cardboard box to the light and saw the image of the tree and quad outside being projected onto the box. The experience was very interesting and opened my eyes to the various techniques used in photography.
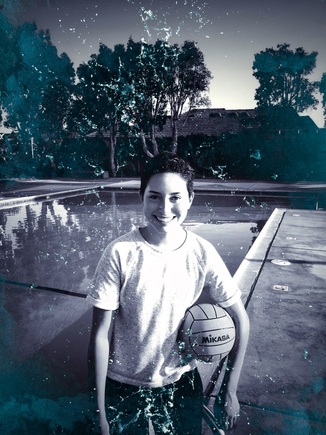 My surrealistic self portrait was taken at the community pool in my neighborhood. It is here where I took my first steps in a pool, learned how to swim, and spent countless summer days. Some of my fondest childhood memories were made at this pool. As a young kid, I practically lived at the pool. I went every single day, never getting tired of the same setting. My mom would have to drag me out of the pool at the end of the day to go home. As I got older, the pool became the place I went to escape from the stresses of life. So, what better place to take a self portrait than at my second home.
To create the surrealistic effect on the portrait, I first applied a black & white filter using the app, Snapseed. I then adjusted the brightness and used the vignette option. Using Pixlr, I used double exposure. While at the pool, I took a photograph of water splashing on the surface of the calm water. I edited it to have more contrast and an overall darker color, in which I then used that photo for the double exposure. I again utilized the double exposure option with the same water splashing photo, only I rotated it to display the water drops on the top of the portrait as well as the bottom- creating a full water effect on the portrait. I then used the “splash” option to add the blue color. Through the portrait, one can see that I love the water and everything about it. I swim and play water polo, which are easily the highlights of my experience at RBV. Swim and Water polo has allowed me to exercise while having fun, meet amazing people who have become my second family, and has taught me that hard work and dedication pays off. |
AuthorArchives
June 2017
Categories |
 RSS Feed
Photo used under Creative Commons from Jori Samonen
