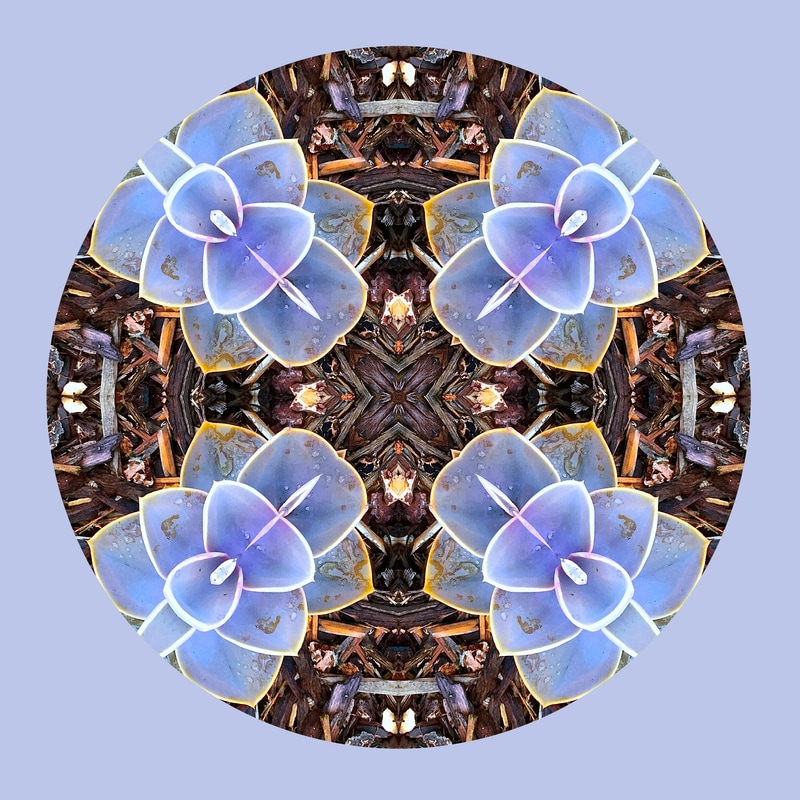
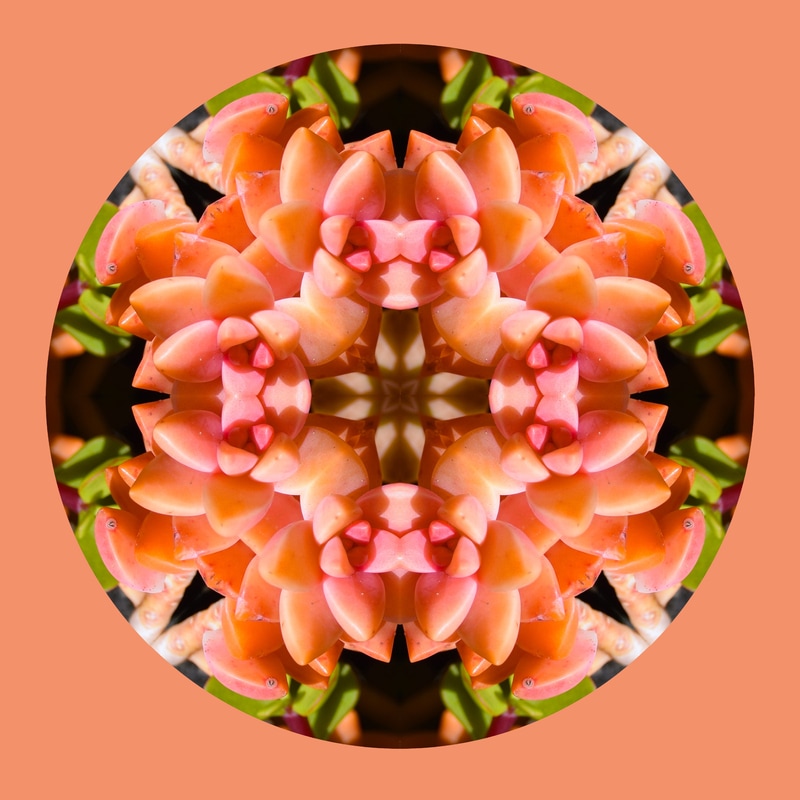
      A mandala is an abstract design, typically is a circular form. To create a mandala, I first opened up the mandala template found in the class folder. I then opened up an image in Photoshop by dragging it to the photoshop icon. Using the magic wand tool, I selected a fragment of the mandala. I then dragged over the template page to the side of my picture so I am able to transfer the fragment onto my image. I dragged the triangular fragment from the template to my picture, then adjusted it to capture the specific part of the image I wanted to use for the mandala. Press "command" and "c" to copy the image and then "command" and "v" to paste the image onto the mandala template. From there, duplicate the image by going to layer - duplicate layer. Then go to "edit", "transform", "flip horizontal", and rotate the image to fit the adjacent triangular template. Merge the layers by going to layer- merge layers. Then select the two layers by pressing "command", then merge those two layers (layers - merge layers). Repeat the process of duplicating, rotating, and merging layers until you come to a complete mandala. The process was fun, creating interesting patterns with ordinary images. At first, it was difficult becoming familiar with all the various steps to creating the mandala, but once I got used to it, I was able to experiment and be more creative. If I could do anything differently, I would like to experiment with layering the complete mandalas onto of each other, each being reduced in size.
Tessellations - 4" by 4"   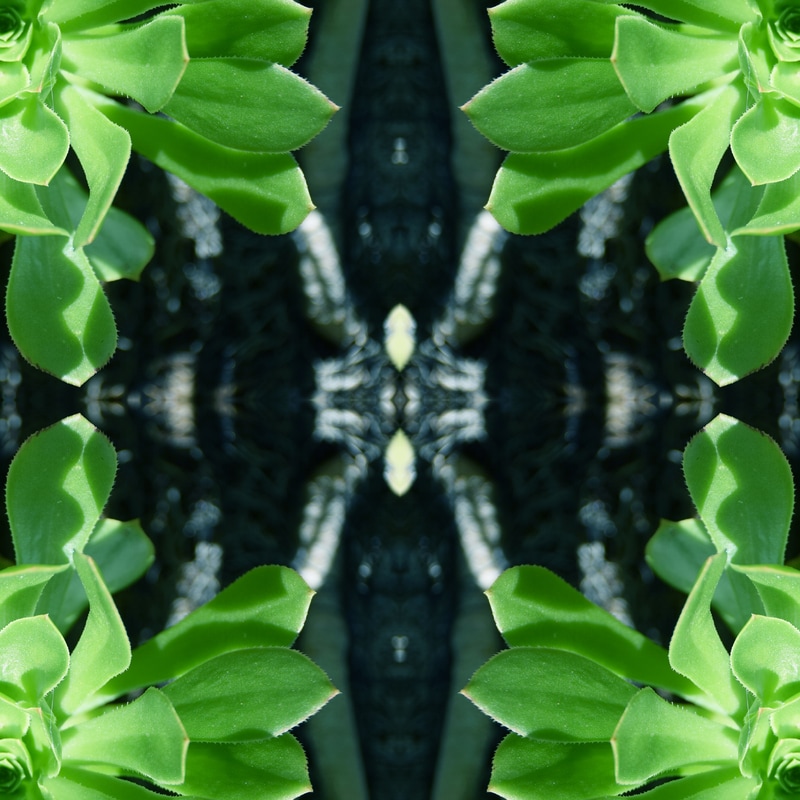 Tessellations - 2" by 2" 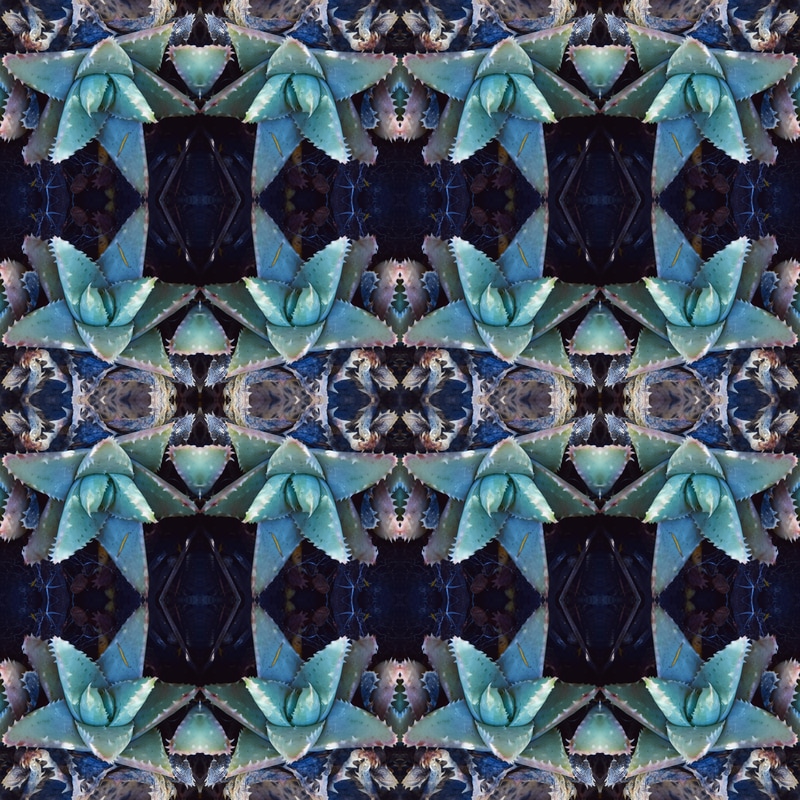  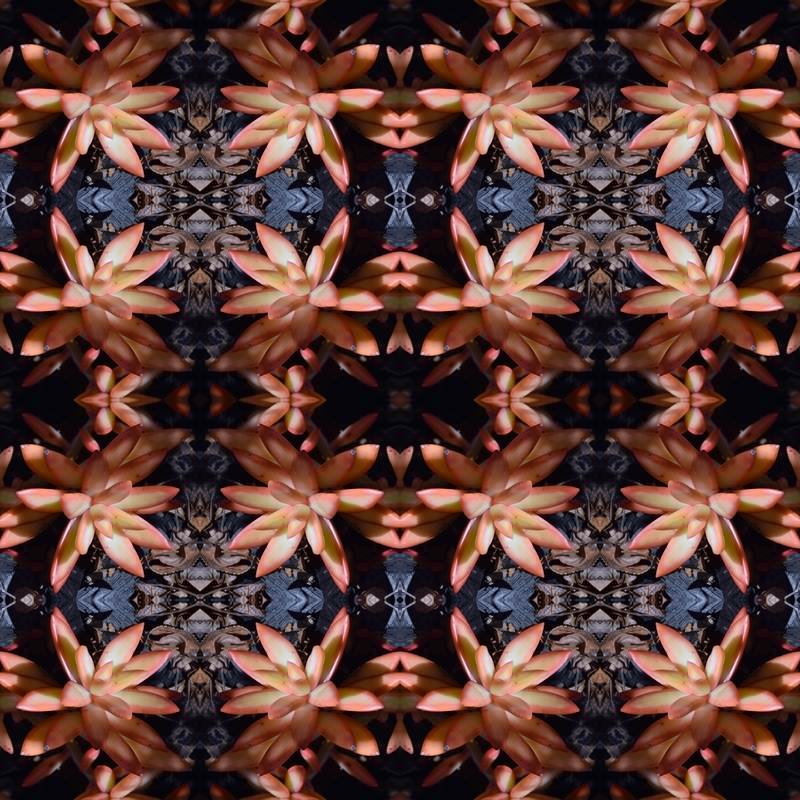 Tessellations - 1" by 1" 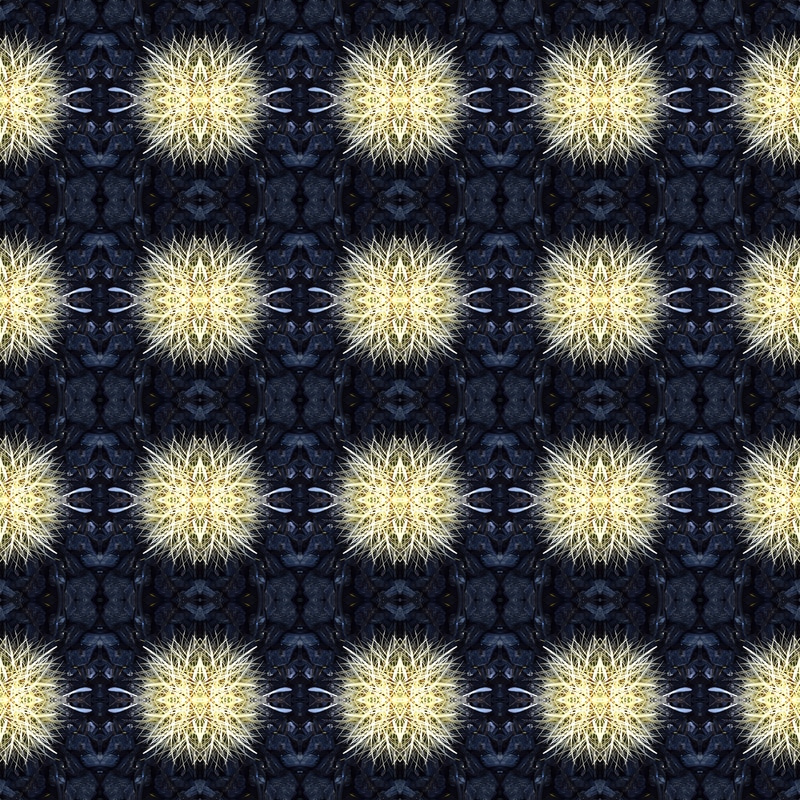  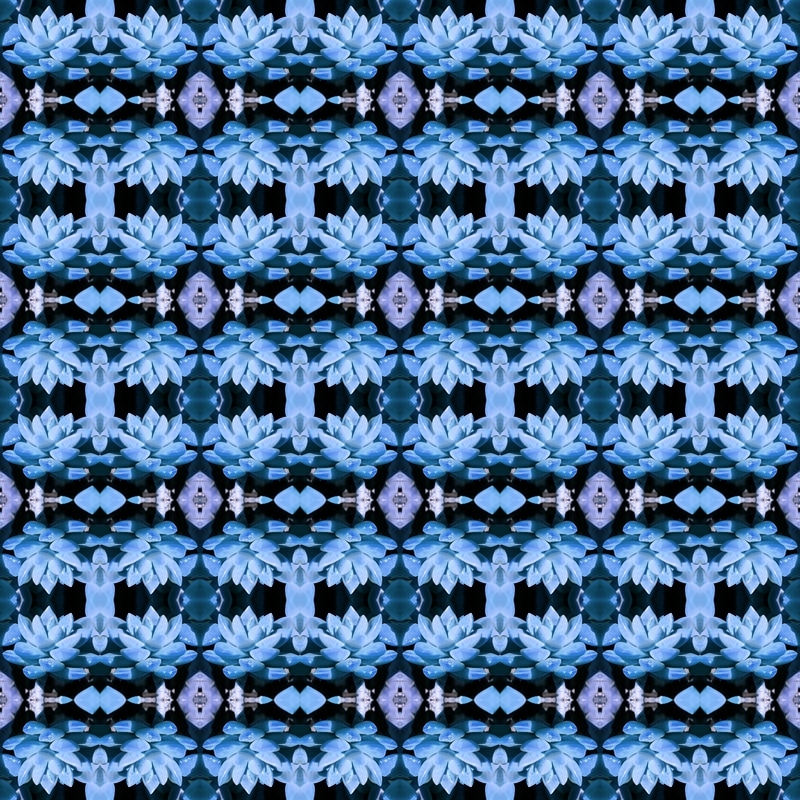 A tessellation is the arrangement of shapes fitted closely together. To create a tessellation, first create an 8" by 8" document with 300 resolution. To create grid line markers, go to view - new guide- and create one horizontal and one vertical line at the 4" mark. Save as "tessellation 8 inch template" as a jpeg on your desktop. Then select a photograph to use for the tesselation in iPhoto. Drag the photo into the Photoshop icon as a new file. Crop within the image to a square. Use the option on the top left side to change it from "unconstrained" to 1 x 1 square. Edit the size of the image by pressing image > image size and change to 4" wide and 4" height, 300 resolution. Move the cropped square portion of the picture into the top left square of the 8" by 8" document. Duplicate the layer by going layer> duplicate layer. Move the top duplicate layer to the right side and then select edit> transform > flip horizontal. Go back to layer one and layer >duplicate layer again.
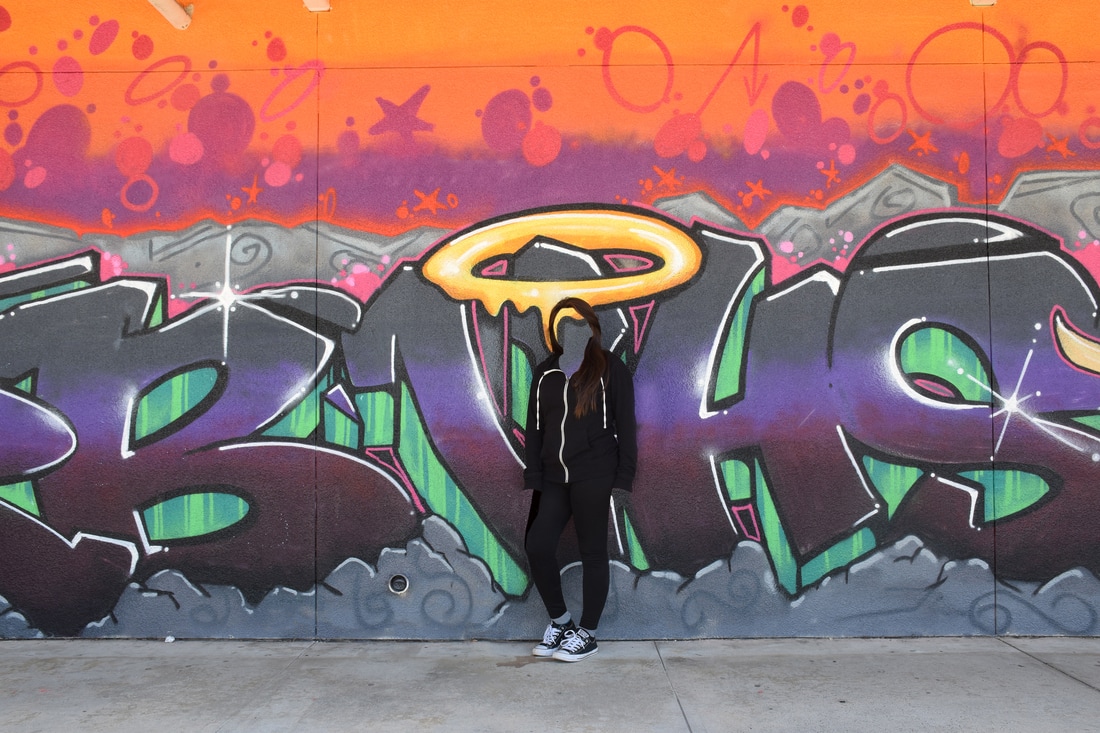
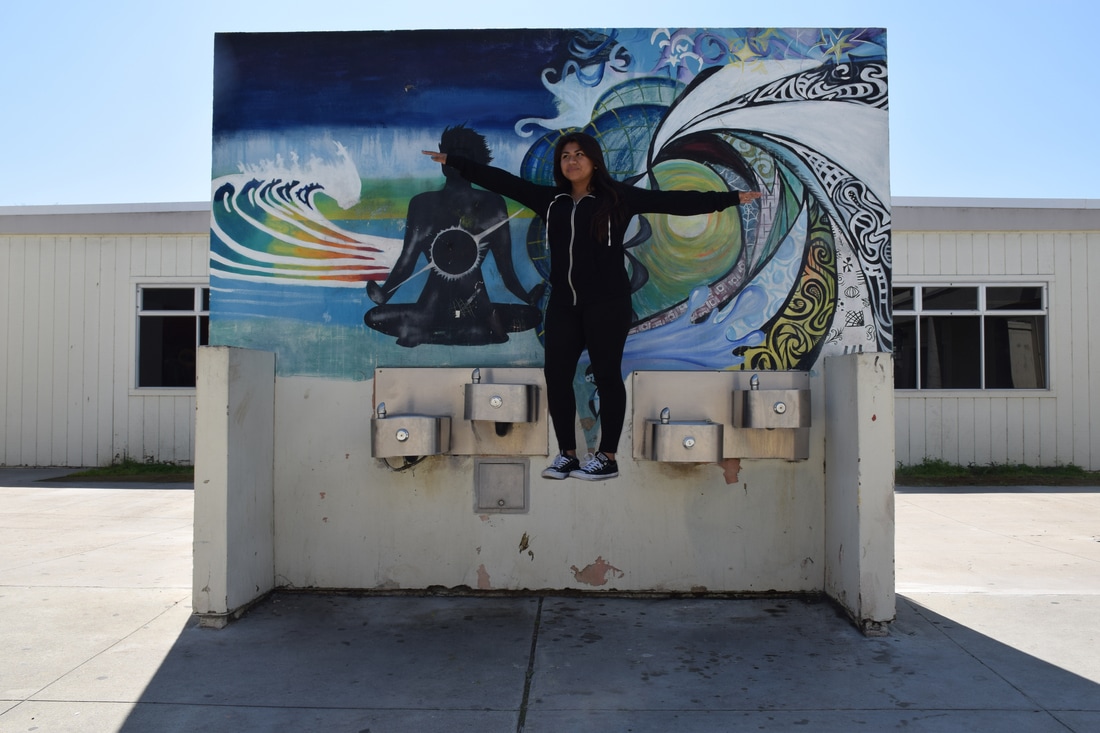
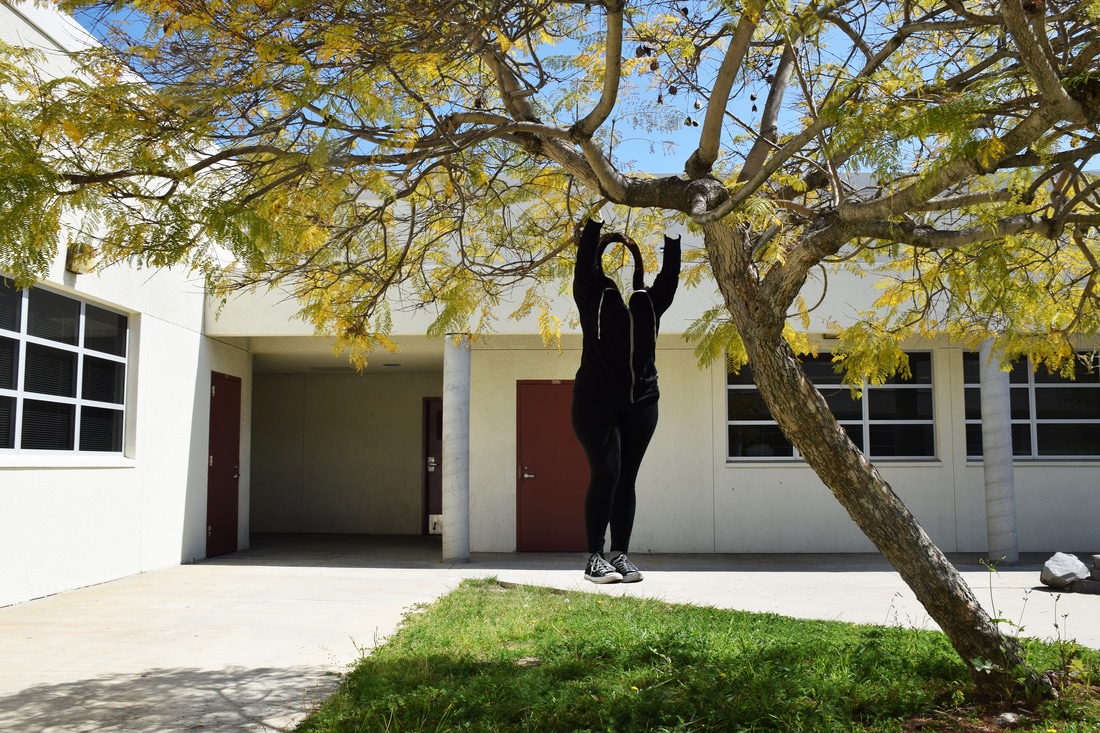
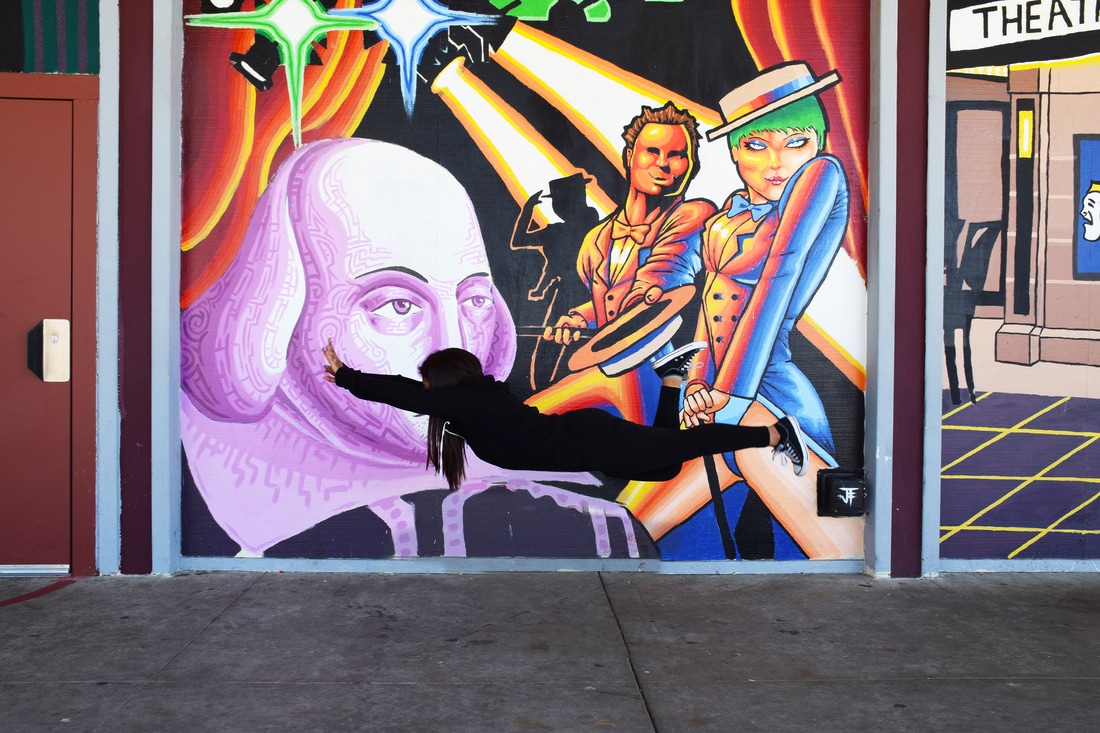
Move the next duplicate layer from the top left hand side to the bottom left corner and press edit> transform> flip vertical. Highlight layer one again and layer> duplicate layer for the third time. Move the layer to the bottom right hand side and edit > transform > flip horizontal and then edit >transform > flip vertical. Once finished, move the guides using the move tool to make sure there's no gaps. If there are, reposition the images so they overlap slightly. Save your work as a Photoshop file to your desktop. I liked creating the various geometric patterns. It was difficult, in the more intricate tessellations, to keep track of which square to rotate which way/ place (there were so many squares). If I could go back, I would experiment more with different colors and backgrounds. 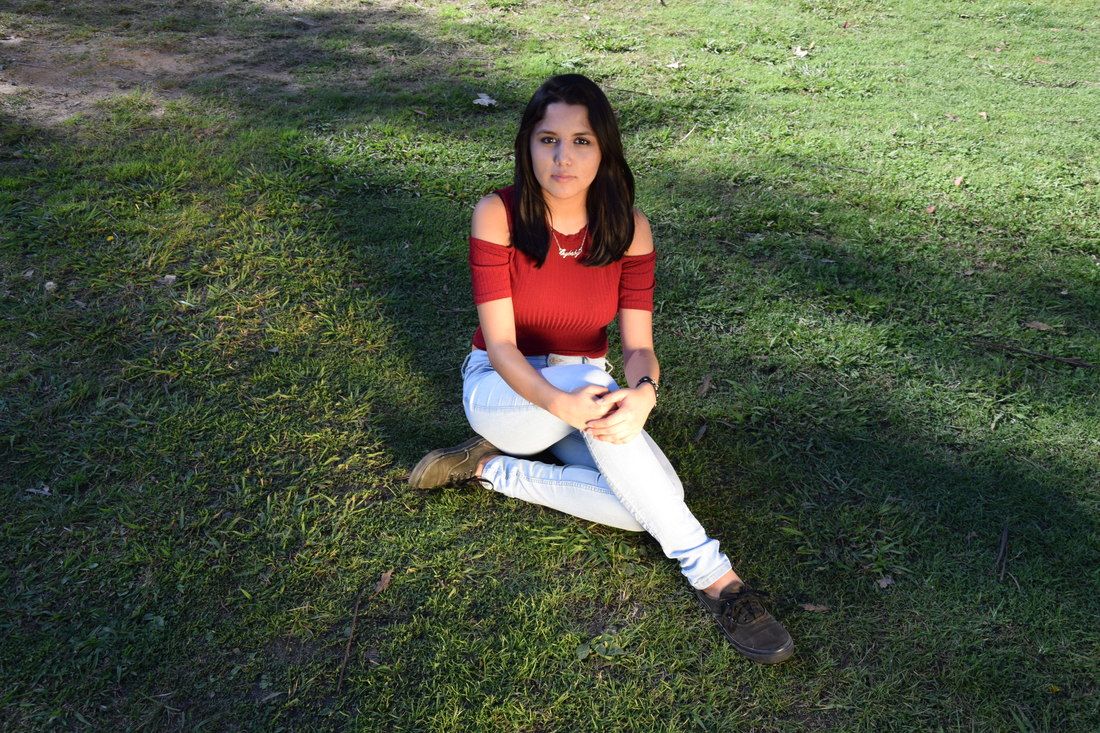 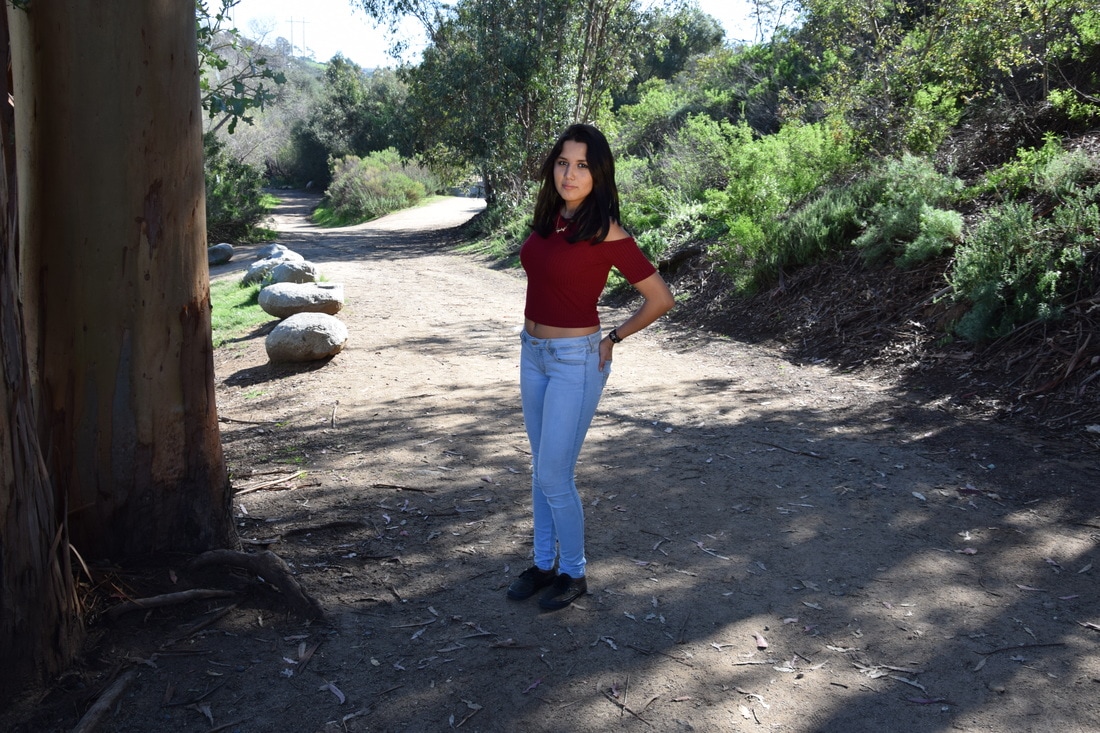 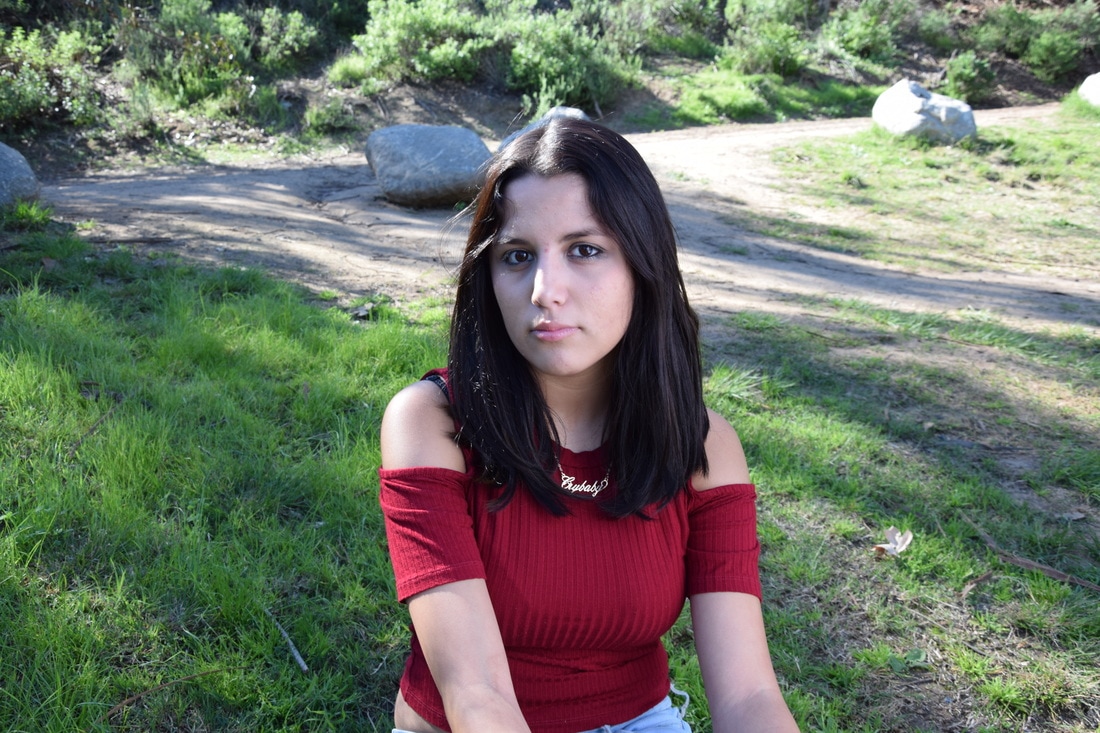 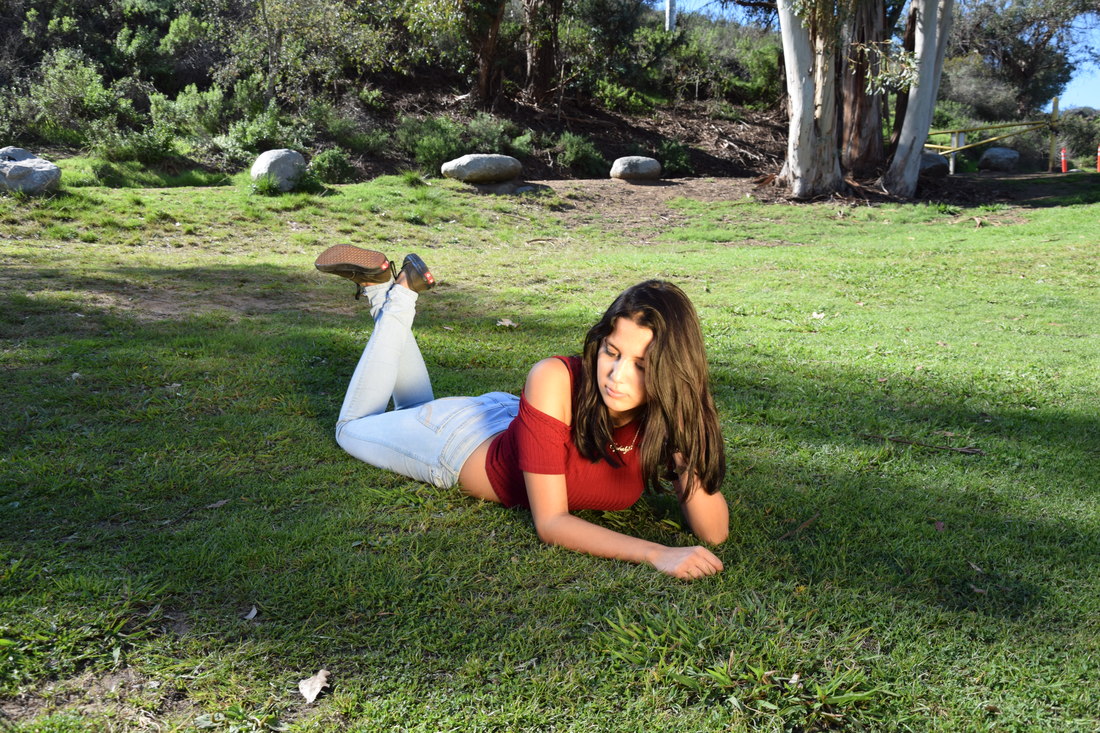 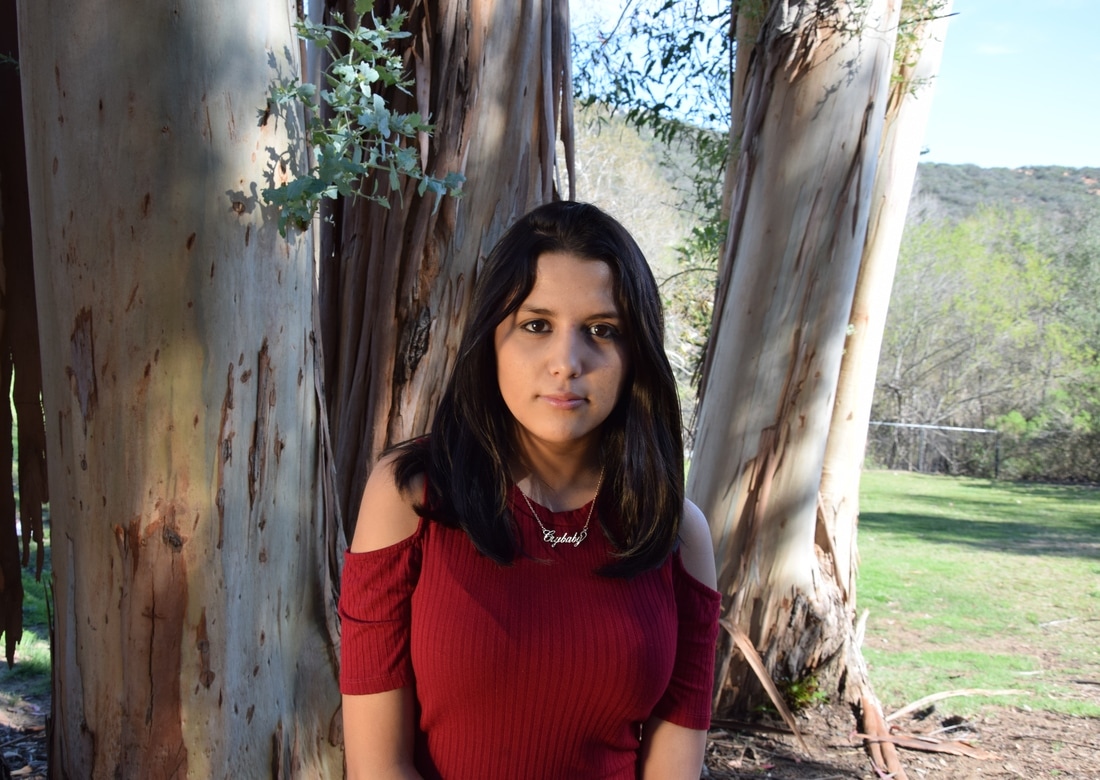  I learned that lighting and scenery are both very important in portraiture. In determining what poses to do, our group decided to have the subject do the poses they felt most comfortable with. I used both the gold and white reflector. The gold was perfect for adding a dramatic look to the image, and complemented her skin tone. The white reflector added a subtle brightness to her complexion, though washed out her skin tone at times. For editing, I brightened and saturated the images slightly. There are many private/ professional companies that use portrait photography for advertisements.
|
AuthorArchives
June 2017
Categories |
 RSS Feed
Photo used under Creative Commons from Jori Samonen
